


Framework for Digiduck Development Boards running ATTiny85 processors and micronucleus bootloader!
Roadmap:
- Plan to implement a command for Duckyspark translation within the framework.
Requirements:
– ATTiny85 or other compatible “Digispark” Development Board(s)
– DigiSpark Drivers (If you can use it with arduino you should be fine.)
– OSX or MacOS
– ArduinoIDE with Digispark Library Installed
Getting Started:
Installation:
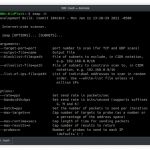
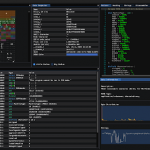
DigiDuck Framework (Referred to as DDF) is really simple to start and setup! There are no third party modules required for DDF! All you need to do is make sure you have Python 3.6+ (I used this to develop it but it should be backwards compatible *hopefully*). Clone this repository and enter the directory from the command line. Once inside the directory simply run:
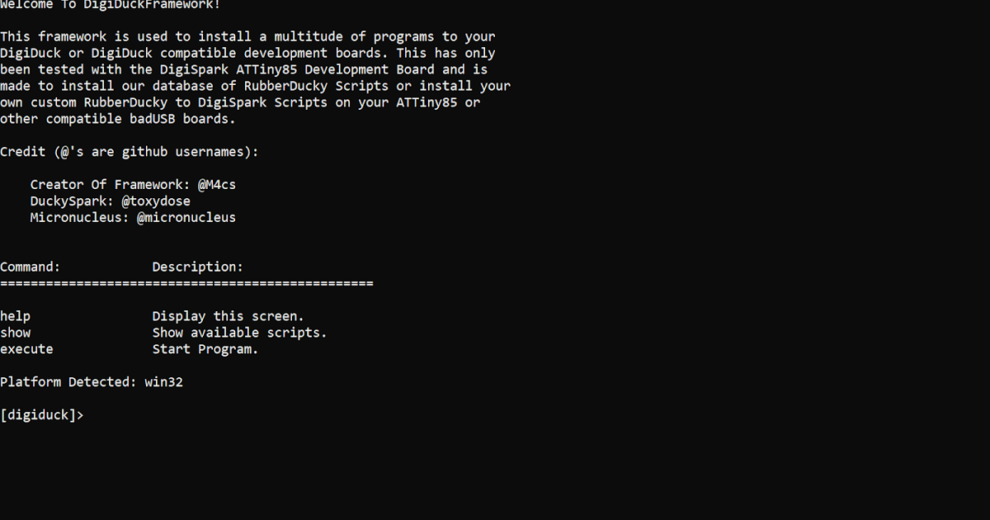
python start.pyThis will start the program and display the Welcome Screen shown above.
Help Menu::
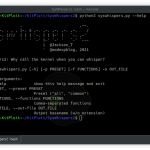
There are three commands in this Framework! I wanted to make this as lightweight as possible so it only requires one command in order to get a payload onto your board.
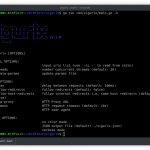
Command: help
The help command displays this menu:
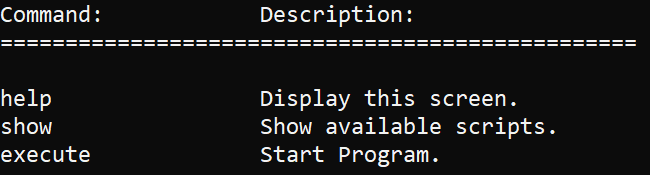
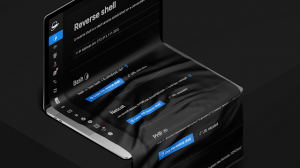
Command: show
The show command displays this menu:
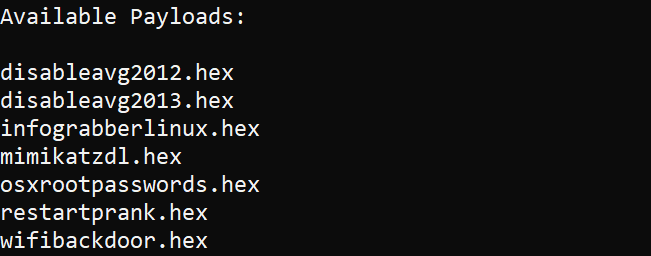
All your available payloads will be shown here. However if you run the execute command they display again.
Execution:
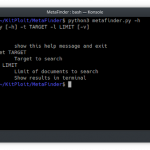
The third and last command in DDF is execute. The execute command will display the same menu as the show command, however from this menu you will input the payload name. You have to include .hex at the end of it or it won’t load correctly and ask you to enter it again.

execute command display.
Once you choose your payload you will be prompted to insert your desired board into the computer. From there it will install the desired payload and display this when completed:

Thats it! You can now go plug in your badUSB DigiSpark board into a computer and run the desired payload!
Payloads:
Payloads are DigiSpark .ino hex files that are installed using the micronucleus bootloader to your ATTiny85 or other boards.
Current Payloads:
All the current payloads are from Hak5’s RubberDucky scripts available here. If you are unsure of what a payload may do this is the place to go read about it. I’ll try to keep the payloads close to the same name but I don’t want you on Windows to be typing out too much since rlcompleter doesn’t work.
Creating a Payload:
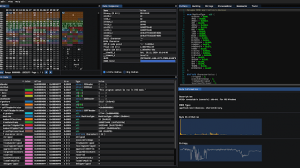
Head to the (Duckyspark GitHub Page)[https://github.com/toxydose/Duckyspark] to see how to create your translated .ino file from a RubberDucky script. After that load your .ino file into Arduino IDE. Make sure Verbose is on inside Preferences and compile your code. Open the terminal output below and look for the .hex file location. It should be in a temp directory in your AppData or equivalent on MacOS. Here’s and example:
This is right above where it tells you to plug in your board!
Pull the payloadname.cpp.hex file from that folder and drag it into payloads inside the DDF framework. Run the program and your payload will be loaded into Available Payloads!
Feel free to contribute by adding custom or more payloads from the Rubber Ducky scripts above! Make a PR with the new payloads.
Credits:
Duckyspark – https://github.com/toxydose/Duckyspark Micronucleus – https://github.com/micronucleus/micronucleus Hak5 RubberDucky Payloads – https://github.com/hak5darren/USB-Rubber-Ducky/wiki/Payloads
Also Check https://pentesttools.net/2018/05/30/terminator-metasploit-payload-generator/

Add Comment